Featured Categories
Designs
Explore gorgeous color palettes including red, blue, black, and white gradients.
📖Tutorials
Step-by-step guides on PSI tuning, paint ratios, and stencil application.
🔌Equipment
Reviews of the best compressors, dual-action guns, and cleaning kits.
💅Nail Care
Expert tips on structural nail strength, cuticle hydration, and safe gel removal.
🌎Inspiration
Global trends from Korean blush aura nails to Japanese nuance sets.
Popular Airbrush Designs
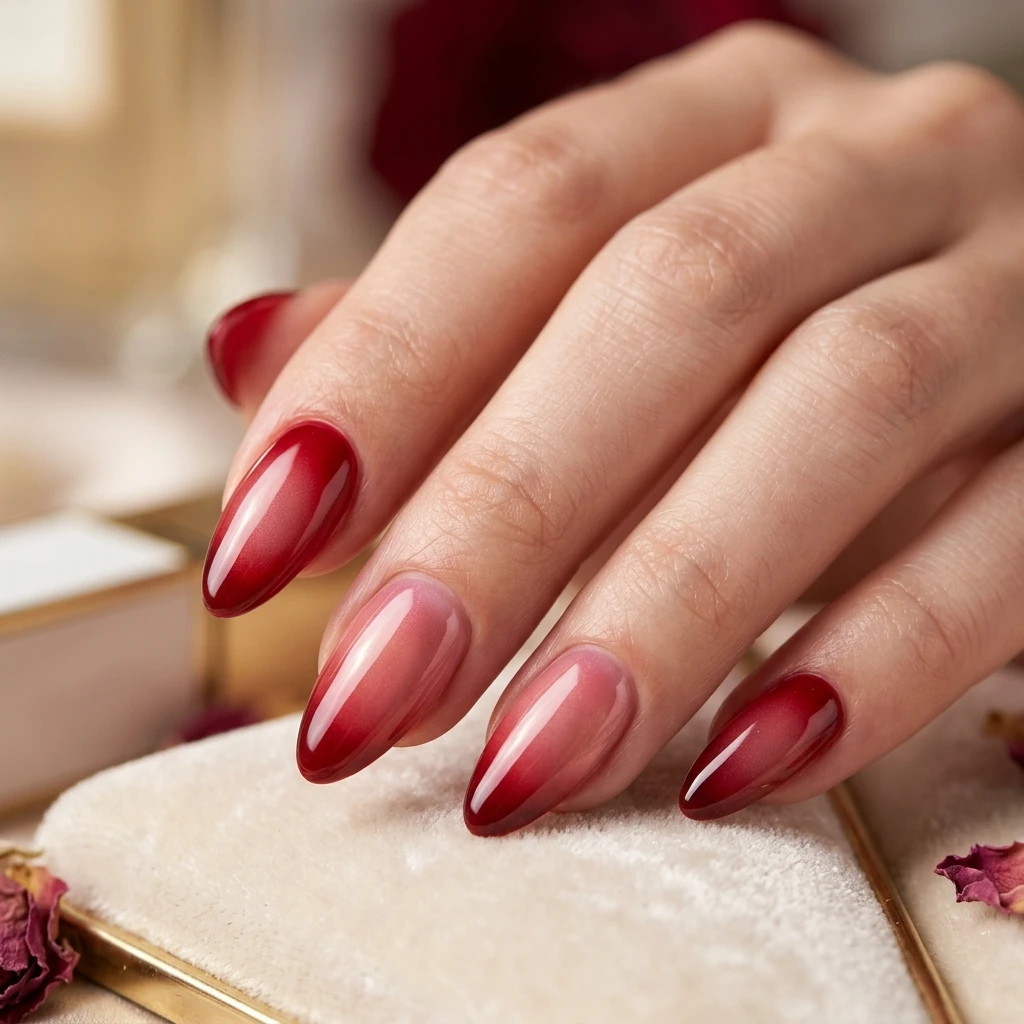
Red Almond Designs
Bold red aura transitions and linear ombre fades styled on an elegant almond canvas.
Read Guide →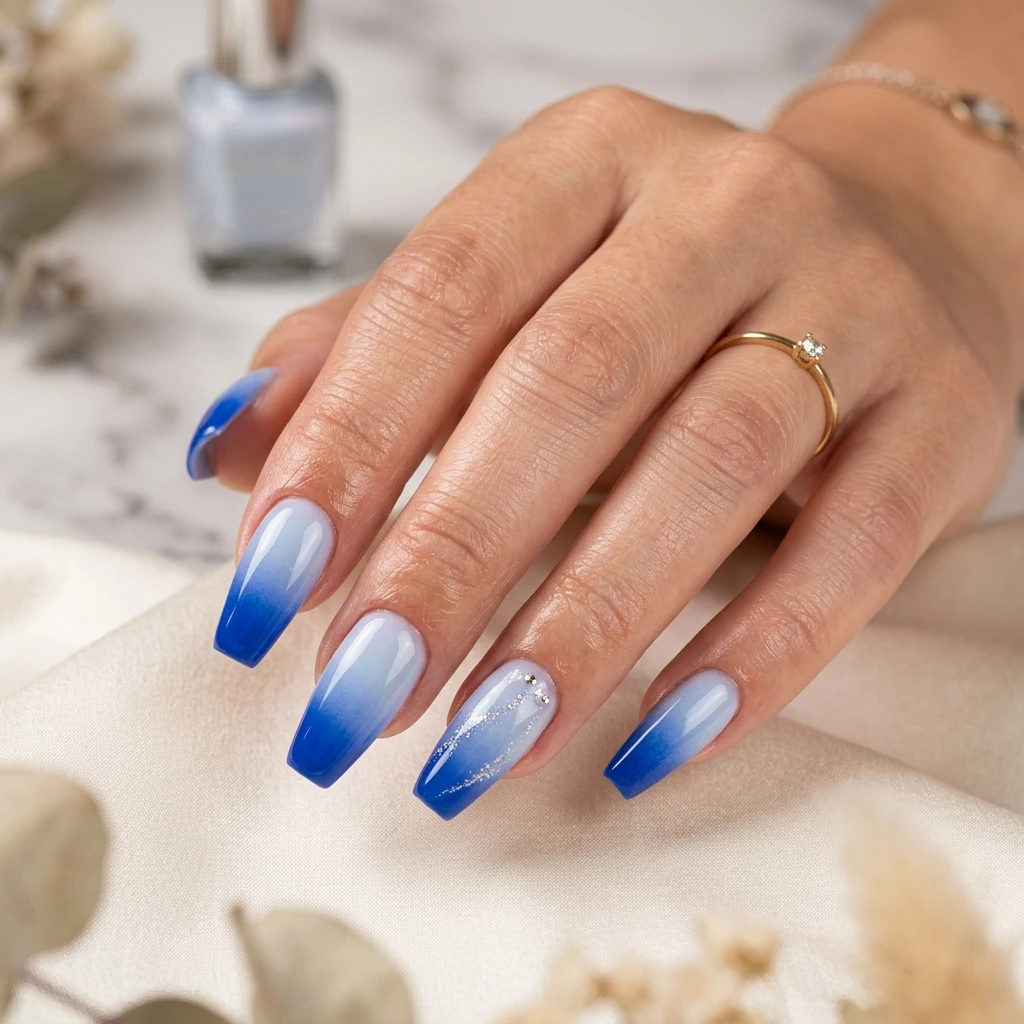
Blue Coffin Designs
Oceanic cobalt gradients and sky blue cloud fades on a wide ballerinas canvas.
Read Guide →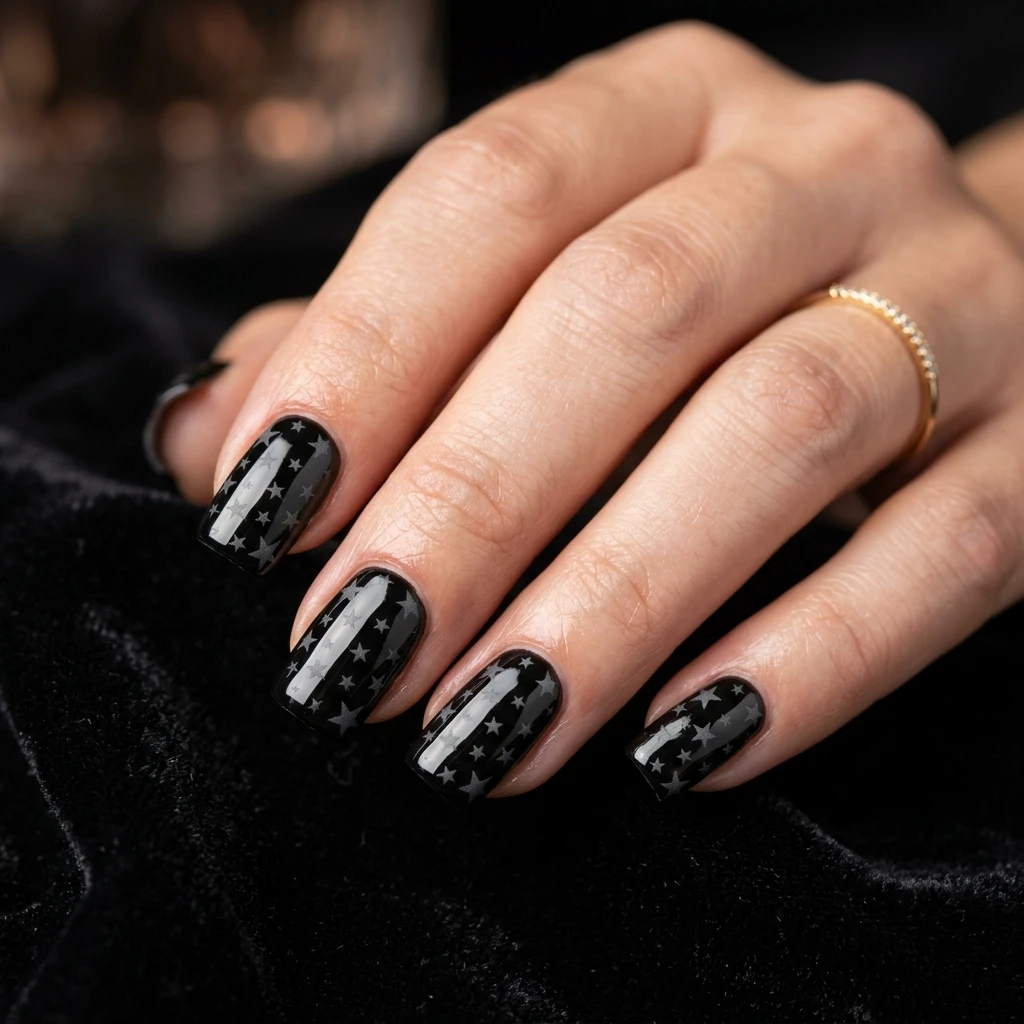
Black Square Designs
Smoky charcoal gradients and Y2K star stencils on sharp, flat square tips.
Read Guide →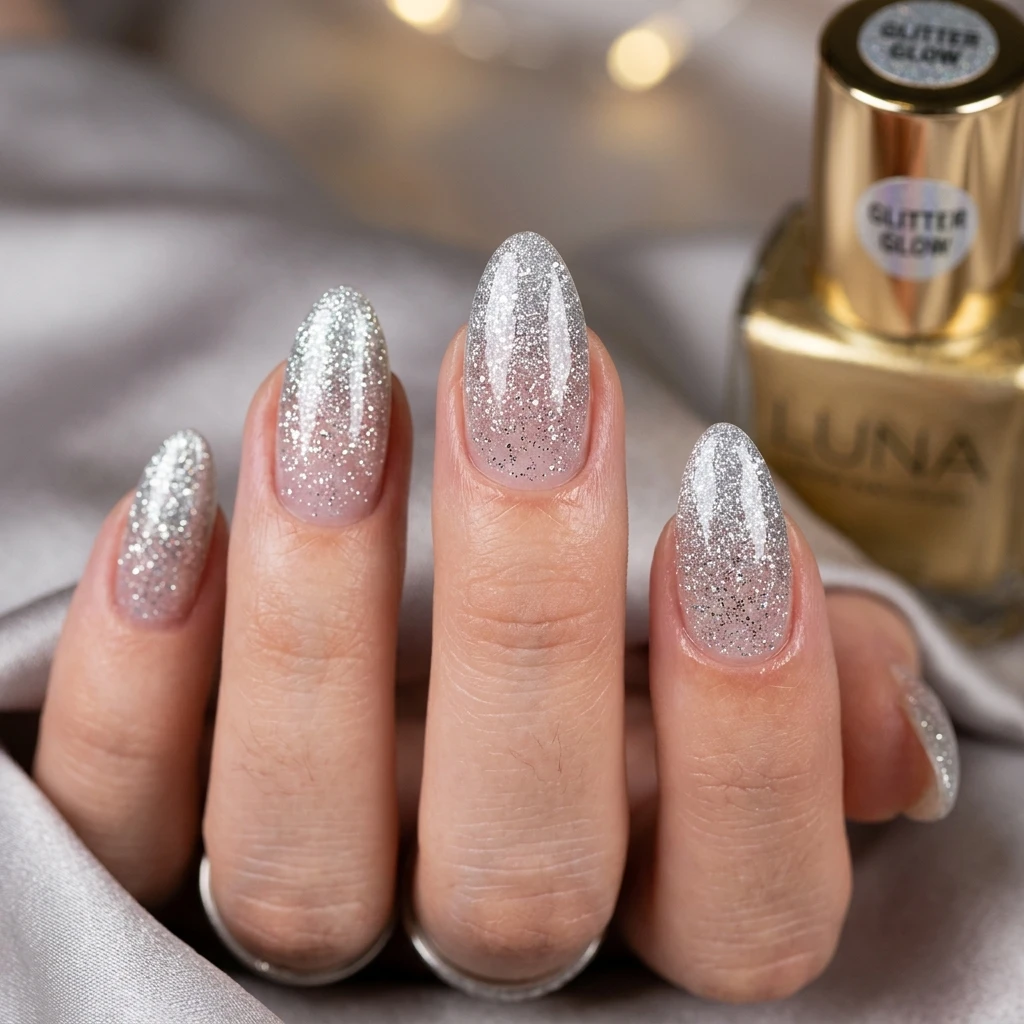
Glitter Almond Designs
Iridescent sparkle gradients layered smoothly over blush bases with a glossy shine.
Read Guide →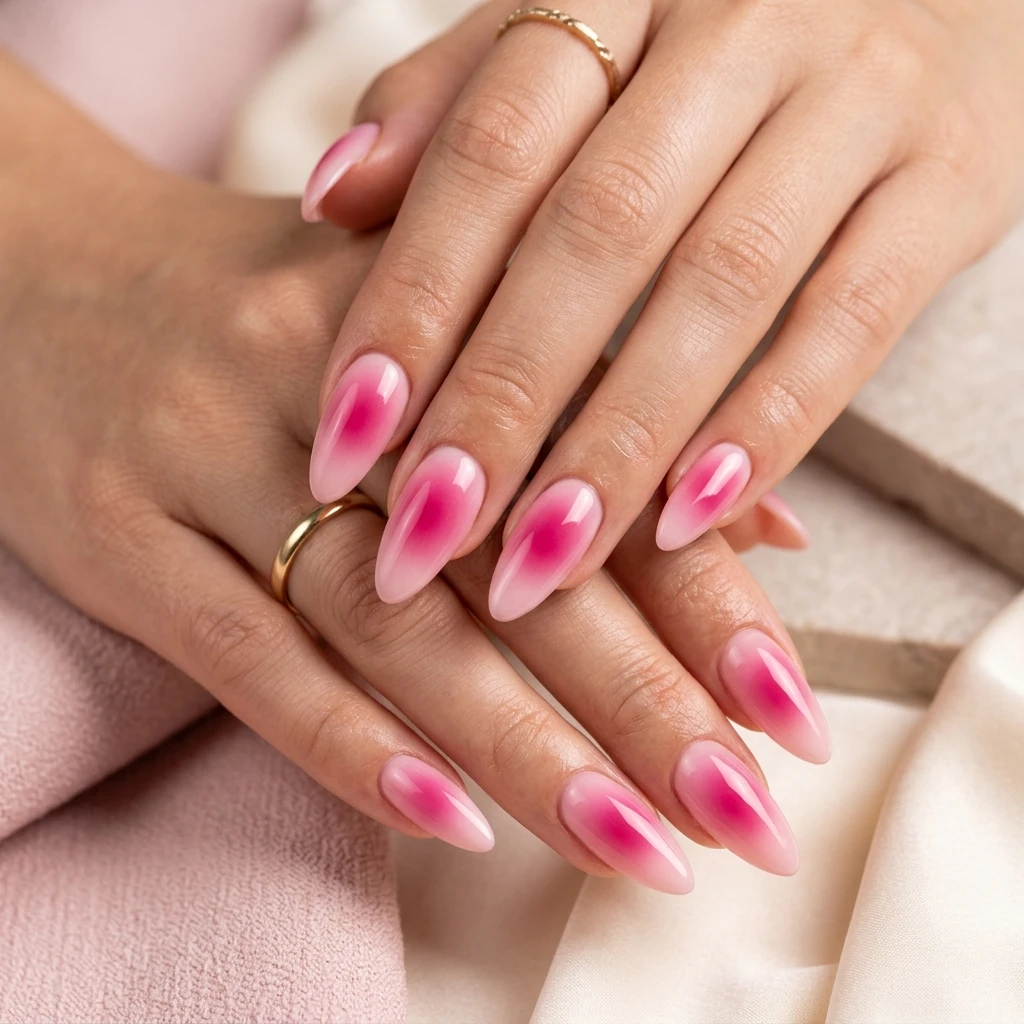
Pink French Designs
Modernized French manicures with a diffused pink smile line transition.
Read Guide →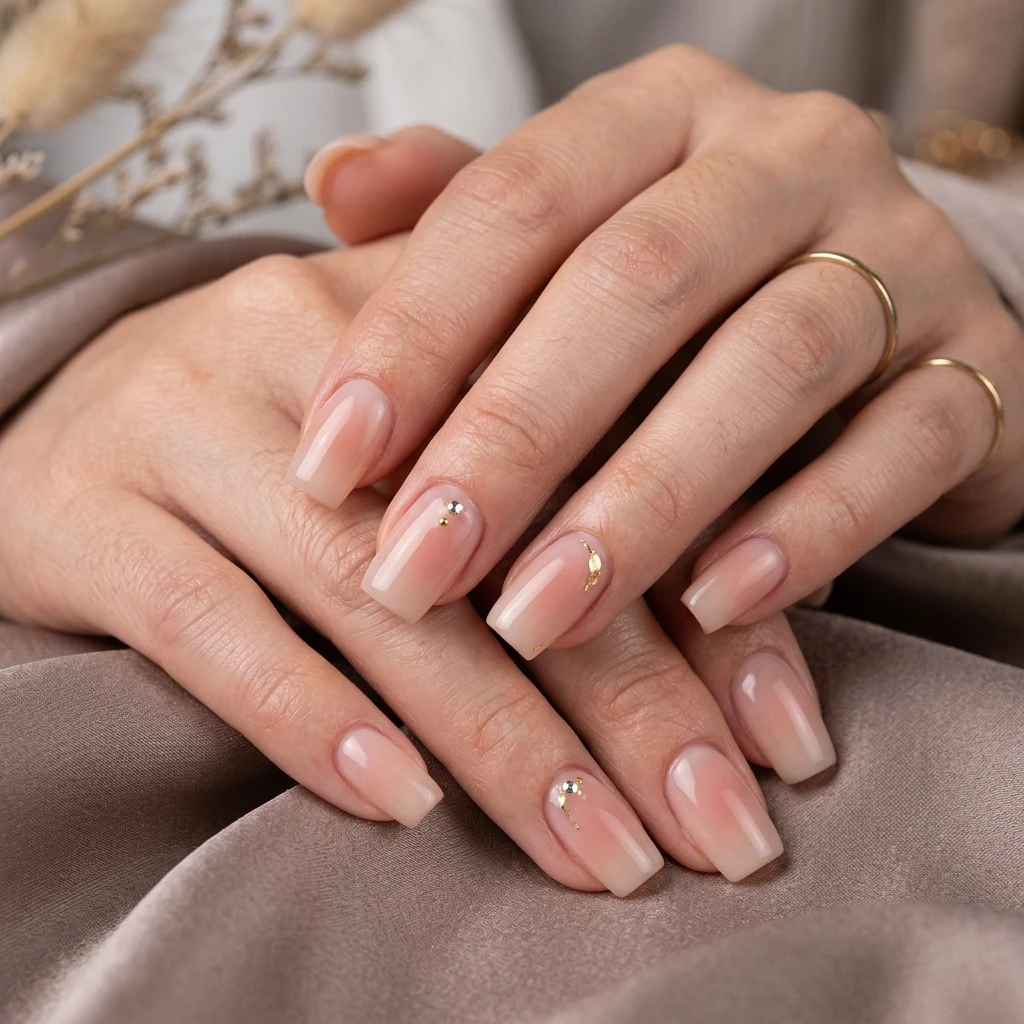
Ombre Short Designs
Sleek, low-maintenance airbrushed fades designed specifically for active shorter nails.
Read Guide →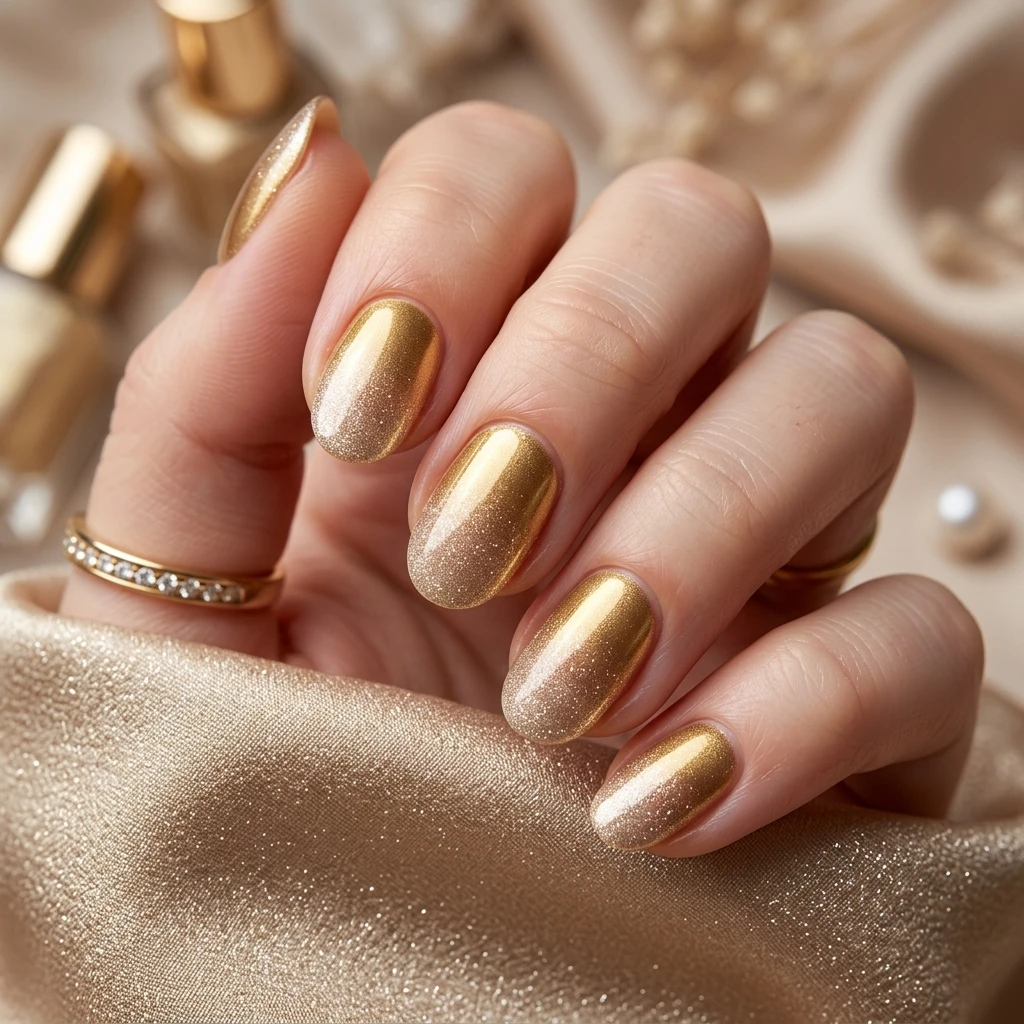
Gold Wedding Designs
Elegant champagne shimmer fades and liquid gold leaf stencils for brides.
Read Guide →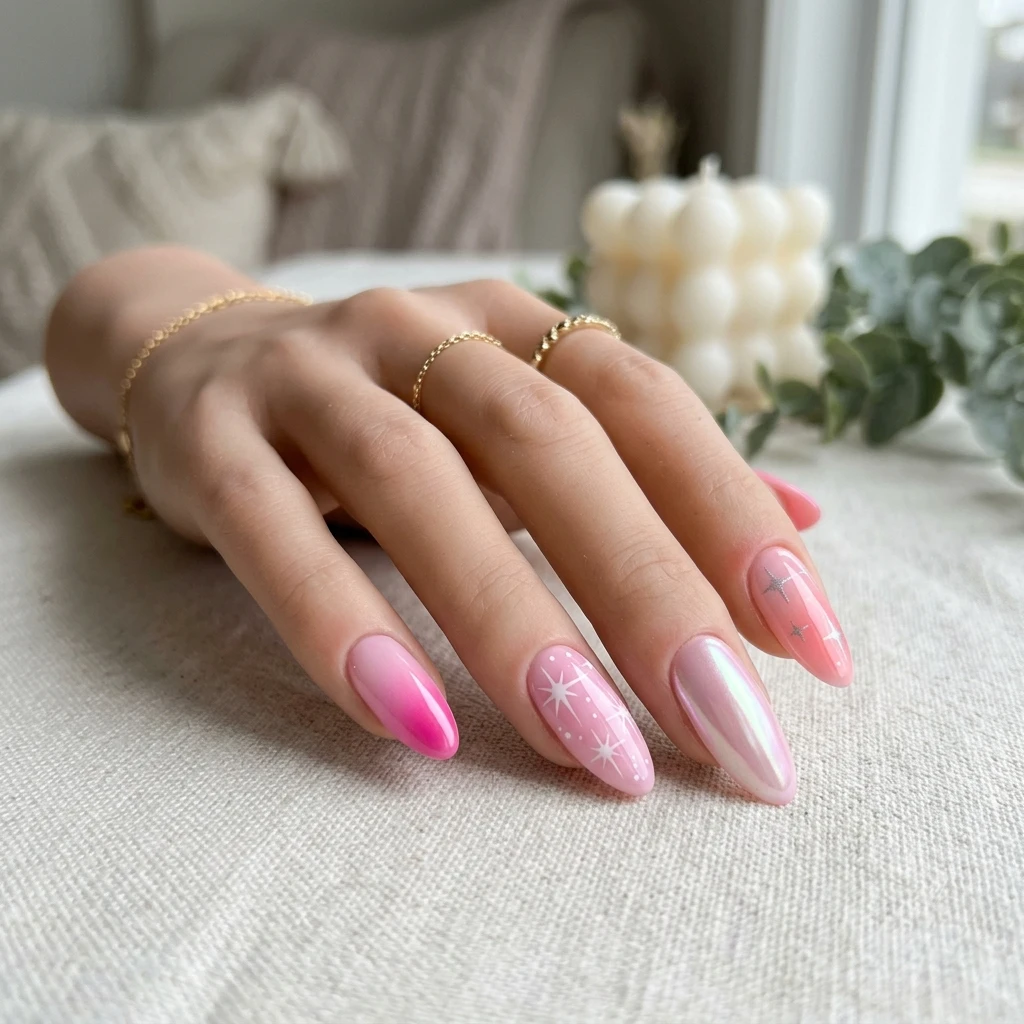
Floral Summer Designs
Tropical orange and pink gradients layered with clean daisy stencils.
Read Guide →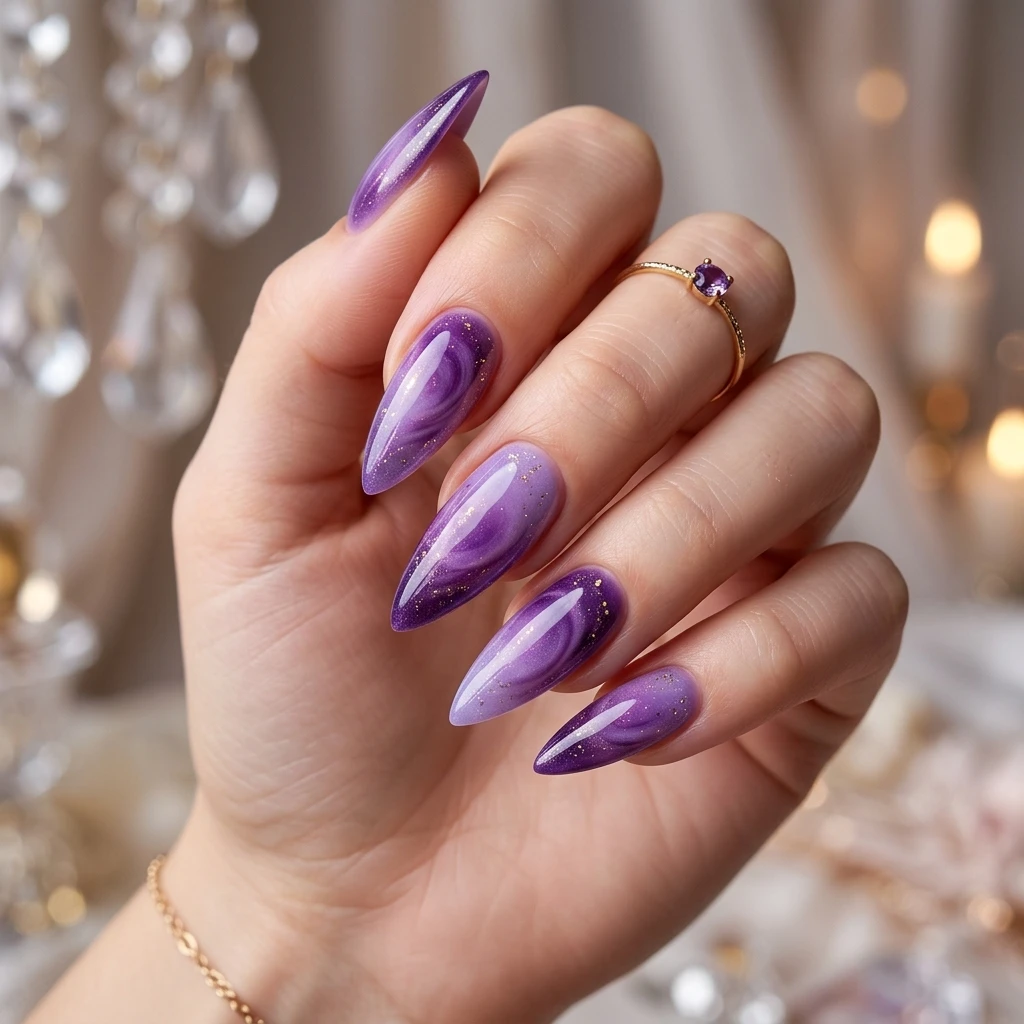
Butterfly Spring Designs
Whimsical pastel blends detailing high-contrast monarch butterfly wing stencils.
Read Guide →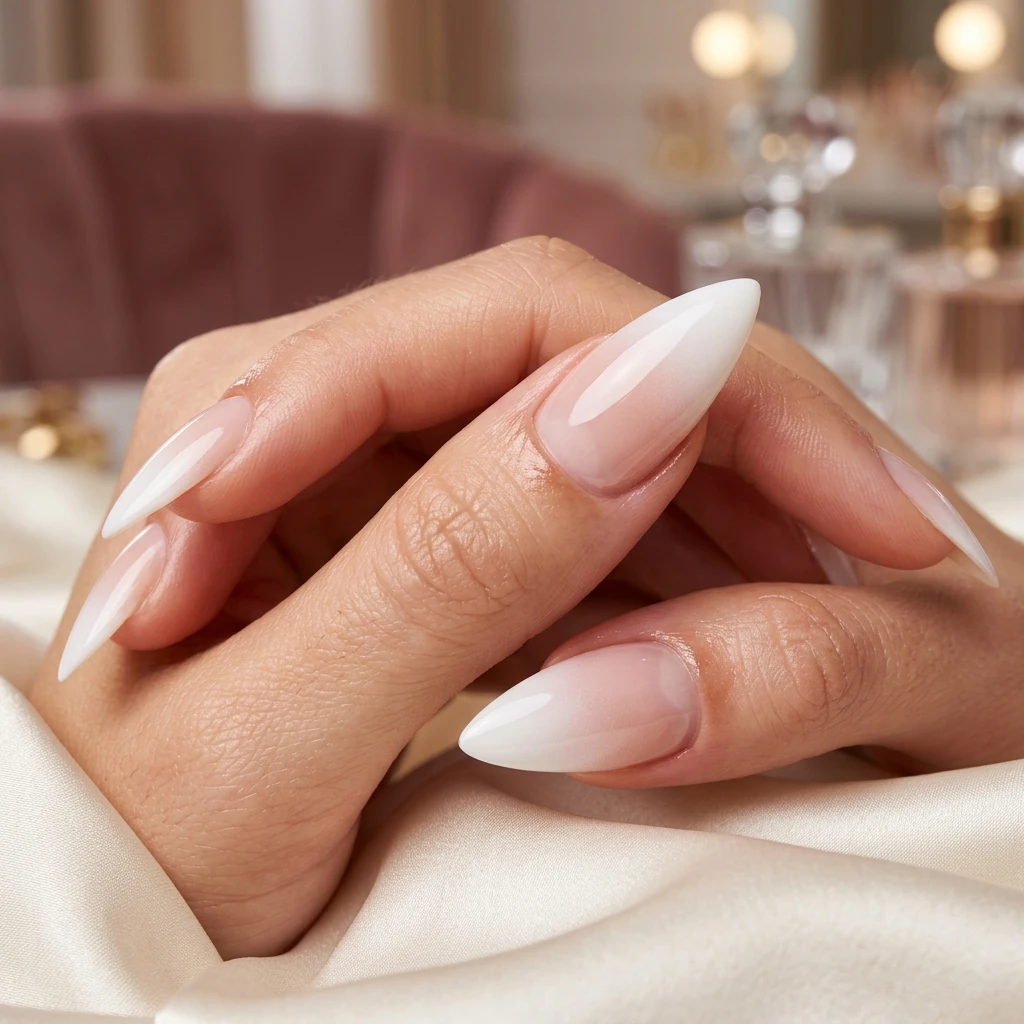
White Coffin Designs
Timeless baby boomer nail gradients and milky white fades on long ballerina nails.
Read Guide →
Black Stiletto Designs
Dramatic sharp pointed nails featuring fuchsia-to-black airbrush fades.
Read Guide →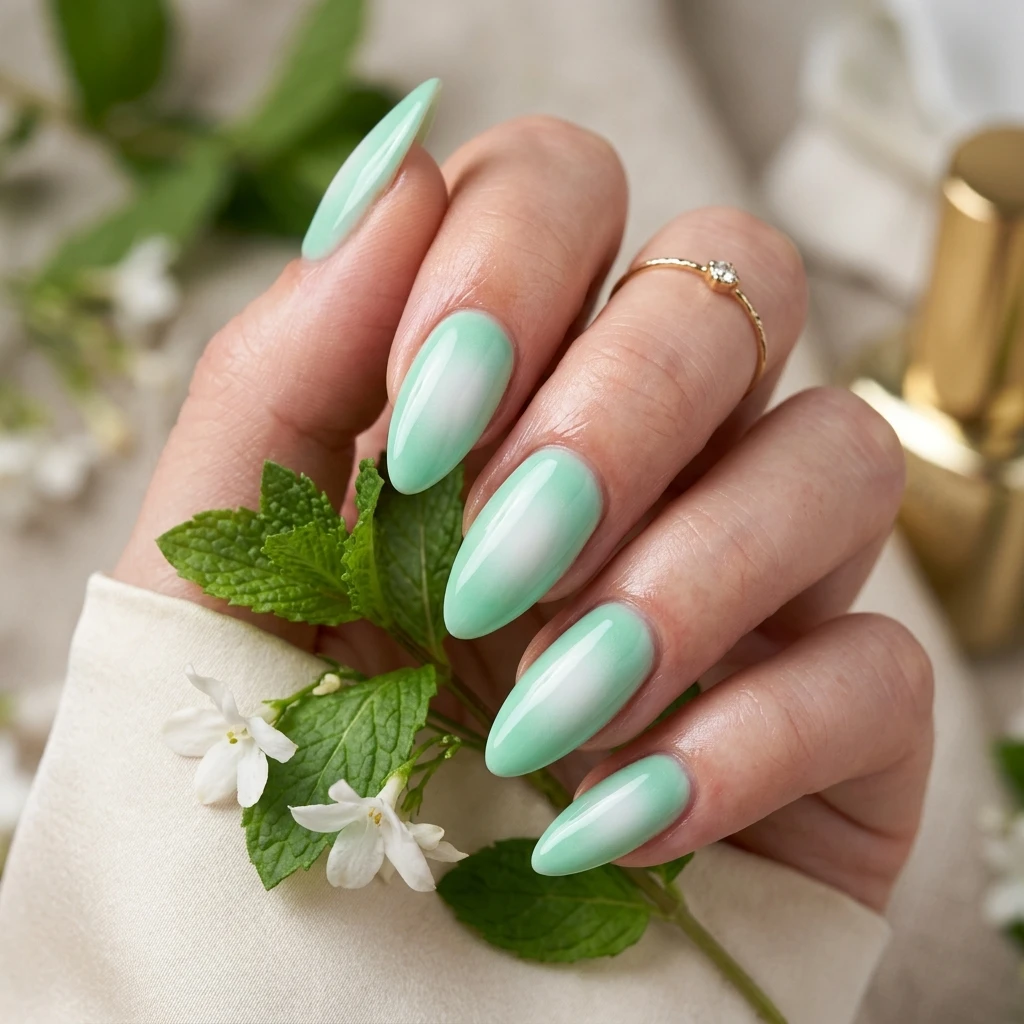
Green Almond Designs
Minty fresh fades and organic sage aura designs on soft rounded almond shapes.
Read Guide →Airbrushing for Beginners: The Ultimate Overview
The beauty industry is currently witnessing a massive resurgence of retro nail aesthetics, and leading the pack is the hypnotic, ultra-smooth look of airbrushed nails. Rooted in Y2K nostalgia and elevated by modern cosmetic technology, these nails offer a soft, dreamy look that traditional hand-painting methods simply cannot match. From clean-girl pastel blushes to high-energy fuchsias, the airbrush technique provides a seamless, velvet-like blend that mimics professional digital art.
What makes the airbrushing technique so unique is how paint is applied. A specialized stylus connected to an air compressor uses compressed air to atomize liquid paint into a fine, microscopic mist. When sprayed onto the nail, these tiny paint droplets overlap to create perfectly smooth color transitions. Unlike traditional polish brushes that leave streaks, or nail sponges that leave a stippled, bumpy texture, the airbrush produces a completely uniform, flat layer.
If you are new to the world of airbrushed nails, the setup can seem intimidating at first. You need a dedicated compressor, a dual-action spray gun, proper cleaning solutions, and specialized paints. However, once you understand the basic mechanics of air pressure (measured in PSI) and paint viscosity, the process becomes incredibly intuitive. Dual-action guns are the gold standard because they allow you to control both airflow and paint volume independently. Pressing down on the trigger releases air, while pulling back pulls the internal needle backward to release paint. This mechanism allows you to control the exact concentration of paint, enabling you to spray soft, diffused shadows or dense, opaque lines.
To get a perfect gradient, you must master the art of trigger control. Beginners often make the mistake of pulling the trigger back too far, releasing a blast of wet paint that runs and pools on the nail bed. Instead, pull the trigger back in tiny increments. Spray in light, sweeping passes, keeping the gun continuously moving across the nail. The paint should look dry almost as soon as it lands on the nail surface. This dry-spray technique is what creates the perfect, cloud-like gradient.
Another important aspect of airbrushing is maintenance. The tiny needle and nozzle can clog easily if paint is left inside for too long. Always flush the stylus with water or airbrush cleaner between colors, and clean it thoroughly at the end of each session. Back-flushing is an effective way to clear out internal blockages. Block the nozzle cap with a gloved finger and pull the trigger back slightly. This forces the air backward into the paint cup, breaking up any dried paint.
Selecting the Best Base and Background Colors
The base color you select is the canvas for your airbrush art. A bright, solid white base makes pastel and neon colors pop, creating a high-contrast energetic look. On the other hand, sheer nude or light pink bases soften the airbrush spray, creating a natural, glowing aura that blends beautifully with the skin. Always cure your base gel completely before spraying. If you are using water-based acrylic paints, it is highly recommended to lightly buff the base gel to remove its shiny surface, giving the paint a texture to hold onto and preventing paint beading.
Understanding Stencils and Masking Techniques
To create shapes like stars, hearts, butterflies, and flames, nail artists use vinyl stencils. These stencils act as masks, blocking the airbrush spray in specific areas. The key to successful stenciling is ensuring the stencil sticks completely flat to the nail plate. If there are any gaps, paint will bleed underneath, ruining the sharp outline. Spray in paper-thin, dry passes rather than a heavy wet layer to keep the stencil edges clean and crisp.
Another popular masking technique is using liquid latex. By painting liquid latex onto the skin surrounding the nail plate before you begin spraying, you create a protective barrier that catches any overspray. Once you are done airbrushing, you simply peel away the dried latex, leaving your skin clean and reducing clean-up time. This is especially helpful when spraying dark colors like black or dark red, which can stain the skin.
Choosing the Right Equipment
When building your airbrush kit, focus on three key items: the compressor, the stylus, and the paint. The compressor should be a specialized desktop unit designed for cosmetics, featuring an adjustable pressure gauge. The stylus should be a gravity-feed, dual-action gun with a small nozzle size (typically 0.2mm to 0.3mm). Finally, buy high-quality paints specifically formulated for nails. These paints are thin enough to spray without clogging, yet contain highly concentrated pigments for maximum opacity.
There are two main types of airbrush guns: single-action and dual-action. Single-action guns are simpler, where pressing the trigger releases both air and paint at a fixed ratio. While easier for beginners, they do not offer the fine control needed for detailed nail art. Dual-action guns allow you to control air and paint independently, which is essential for creating soft gradients and sharp stencil lines. We highly recommend starting with a dual-action stylus to avoid having to upgrade later.
History and Evolution of Airbrush Art
Airbrushing first entered the nail industry in the late 1980s and early 1990s. Early systems were bulky and used industrial paints that were thick and difficult to clean. Manicurists had to spend hours cleaning clogged guns, and the designs were prone to peeling off within a few days. As a result, the trend faded.
In recent years, the trend has exploded back into popularity thanks to advances in chemical engineering. Modern paints are formulated with water-soluble acrylics that clean up with simple alcohol, or hybrid gel formulas that cure under UV/LED lights. Compressors have also shrunk to the size of a smartphone, making them highly portable for mobile nail techs. This combination of durability and convenience has made the airbrush a staple in modern nail salons.
Today, nail airbrushing is not just about gradients. Artists use stencils to create complex geometric patterns, lace textures, and detailed portraits. The airbrush allows for layering effects that are impossible with standard brushes, opening up a world of creative possibilities. As paint technology continues to improve, we can expect to see even more innovative designs and techniques in the future.
Step-by-Step Airbrush Painting Ratios and Reducers
Getting the paint consistency right is the secret to a clog-free airbrush experience. If the paint is too thick, it will splatter or block the nozzle entirely. If it is too thin, it will run and pool on the nail. For water-based acrylic paints, the ideal consistency is similar to skim milk. You can achieve this by mixing the paint with a dedicated reducer, usually at a 1:1 or 2:1 ratio depending on the brand. Hybrid gel paints are pre-thinned and can usually be sprayed straight from the bottle, but always check the manufacturer instructions.
When mixing paint in the gravity cup, always add the reducer first, followed by the paint. Use a clean brush to mix the two liquids thoroughly. Test-spray on a paper towel before moving to the nail. If the paint sprays in a fine, consistent mist, you are ready to begin. If it comes out in large drops, the paint is too thick and needs more reducer.
General Airbrush Nails FAQ
When sealed correctly using a gel base coat and non-wipe top coat, airbrushed designs can easily last between two to four weeks without chipping. The secret is the "sandwich" technique, where you lock the dried paint between a layer of structure gel and a hard top coat, making sure to cap the free edge completely to lock out moisture.
Yes, a quiet desktop compressor with adjustable PSI controls is ideal. Nail art typically requires spraying between 15 and 25 PSI for optimal control. Avoid large industrial compressors, which are too loud and produce air pressure that is too high, which can blow the paint around on the nail surface.
Flush out the cup, fill it with airbrush cleaner or isopropyl alcohol, and spray it through the nozzle. Perform a back-flush by blocking the nozzle cap with a gloved finger to clean the internal mixing chamber. Regular deep cleaning, which involves removing the needle and wiping it clean, should be done at the end of each work session to prevent dried paint blockages.